【今回はボタン1つでPower BIの内容を既存のエクセルファイルに追加できるようにします】
Power BIはエクセルからデータを取得してダッシュボードを作成できます。実は、Power BI内で整理したデータをエクセルにエクスポートし直すこともできます
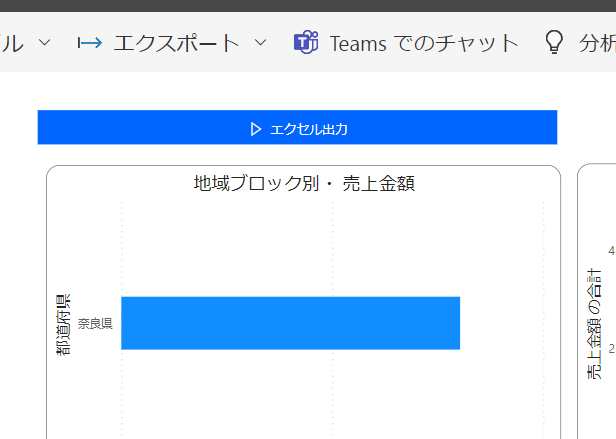
上記の画像の「エクセル出力」ボタンを押すと、OneDrive内にダッシュボードに表示されているデータが追加されます
目次
準備すること
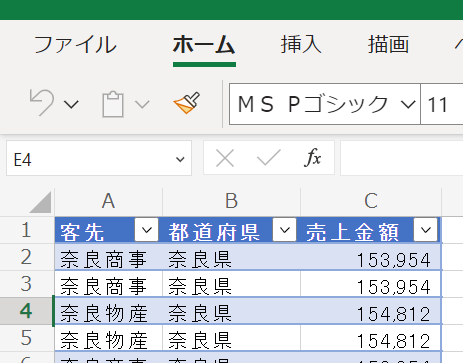
事前にOneDrive、もしくはSharepointにエクセルファイルを準備してください
列名は事前に固定する必要があります
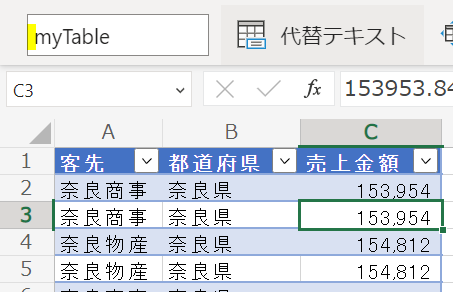
そして、Power Automateから操作ができるようにテーブル化をお願いします
Power BI DesktopにPower Automateの追加
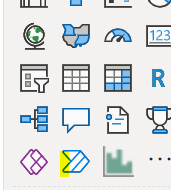
まずビジュアルのビルドの下にある「Power Automate」のボタンをクリックします
すると以下のような内容がページに追加されます
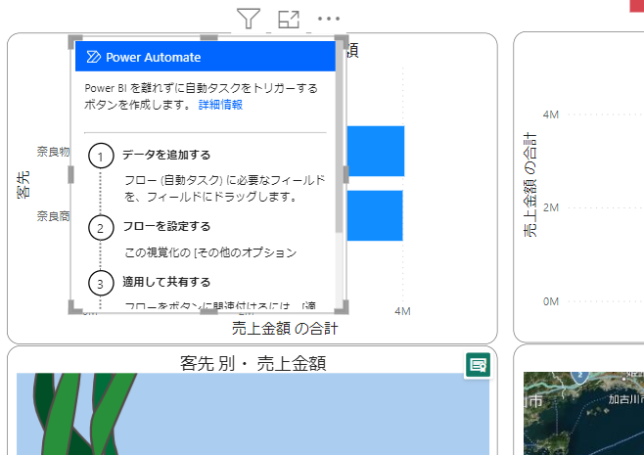
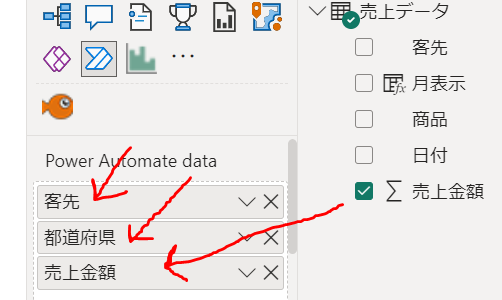
ここでPower Automateで出力するデータフィールドが指定できるようになります
Power Automateフローの設定
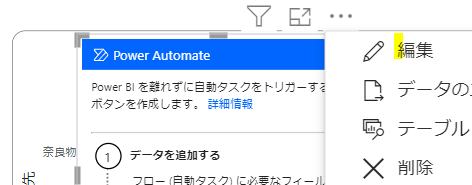
データフィールドを設定したら、三点リーダーから編集をクリックします
次に開いた画面では「新規」をクリックします

内容はインスタントクラウドフローを選択します
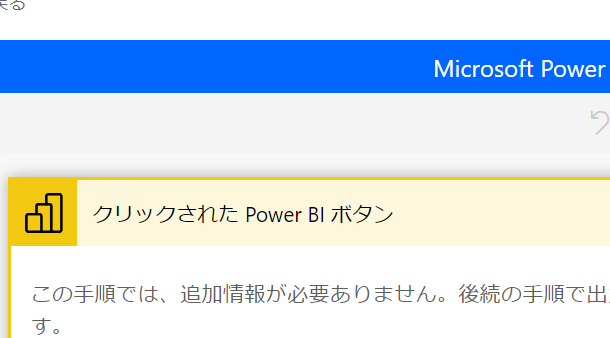
ここから実際にフローを作成するのですが、既にこちらの画像のアクションはデフォルトで設定されてあります
次にエクセルコネクタから「表に行を追加」アクションを追加します

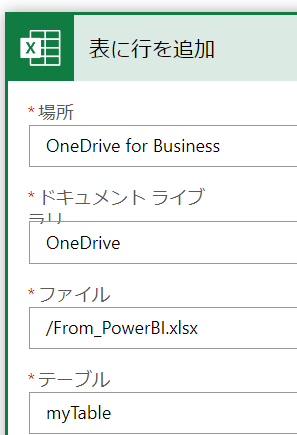
「表に行を追加」アクションでは、まず事前設定したテーブル名までを設定します
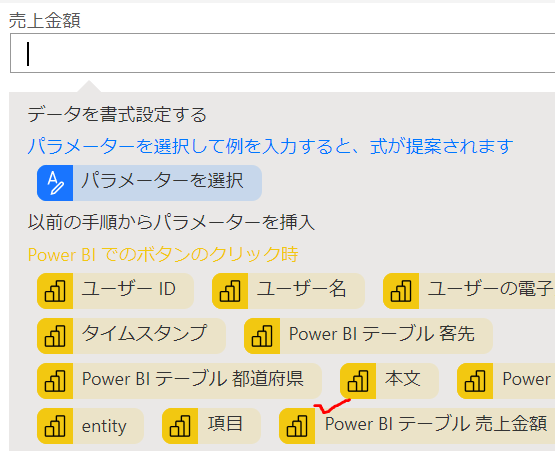
後は、事前にPower BIからの抽出項目として設定した内容をそれぞれ設定します
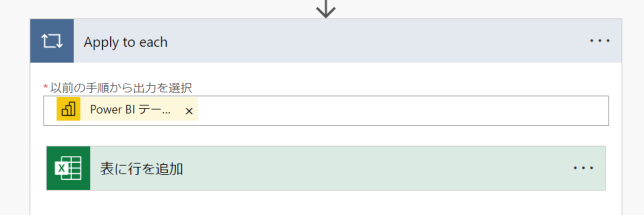
「表に行を追加」アクションの設定が終わると「Apply to each」が自動的に設定されます
そしたら保存適用をクリックし、ボタンがページ内にできていることを確認します

発行処理
Power Automateフローの作成が終わり、ボタンを追加したら発行処理を行い、クラウド上でレポートを開きます
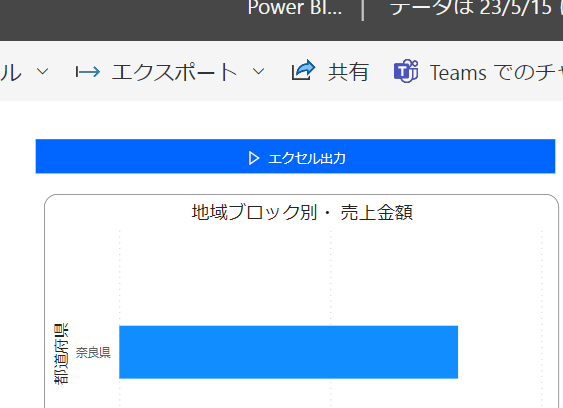
これでPower BIからエクセルにエクスポートできるようになります
<まとめ>
今回はPower BIからエクセルにエクスポートする仕組みを解説しました
紹介した内容はとにかくとても簡単です
Power Platformには簡単な事例が詰まっていることがよく分かります
継続的に今回のような有用なネタを投稿していきます
![]()
![]()


コメントを残す