【どうしても煩雑になりがちなファイルの管理をPower Appsで行いましょう!】
今回の記事では、Power AppsからSharepointサイトのドキュメントにファイルをアップロードするアプリを作成します
このアプリを使用することで、ファイルの保存場所を管理しやすくなります
また、手間なファイルのアップロードの処理を簡略化できます
アプリ作成はそんなに手間暇かかりません
ただし注意点がが幾つかあります
記事の中でそちらについては明記してありますので、都度ご確認の程よろしくお願いします
目次
ポイント
今回のアプリはPower Automateのフローと連携します
添付ファイルの内容をPower AppsからPower Automateフローに渡します
Power Automateフローでは、Power Appsから受けとった添付ファイルの内容を基にして指定Sharepointサイトのドキュメントにファイルを作成します
このファイルの受け渡し方が少々、とっつきにくいです
ファイルを添付する仕組みの作成~Power Apps~
最初にPower Appsでスクリーンを2つ用意します
そのうちの1つのスクリーンでフォームを作成します
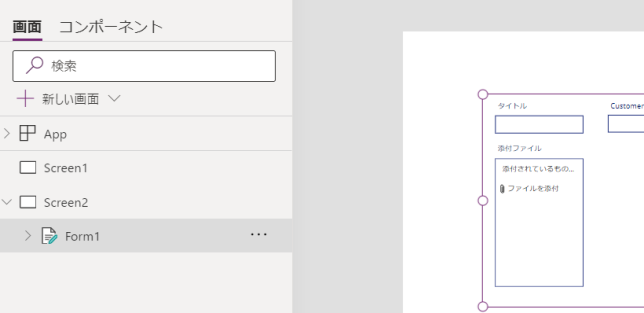
フォームのデータソースは何でも構いません
欲しいのは「添付ファイル」のパーツです
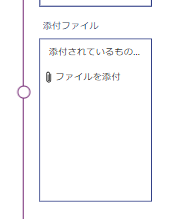
下の画像のパーツを切り取り、別のスクリーンに貼ります
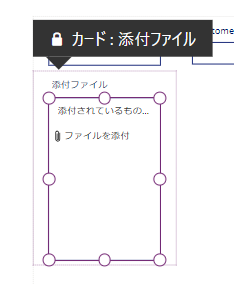
別のスクリーンにパーツを貼り付けた後は、元のスクリーンは削除しましょう
次に貼り付けたパーツのプロパティを以下のように設定します
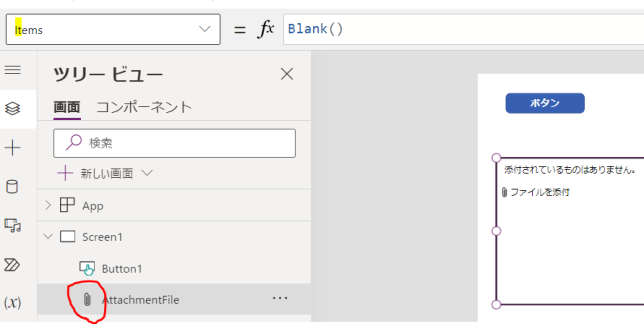
・Items ⇒Blank()
・DisplayMode ⇒DisplayMode.Edit ・MaxAttachments ⇒1
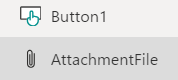
*パーツには扱いやすい名前を付けましょう!
ファイル作成をするフローの作成~Power Automate~
トリガー
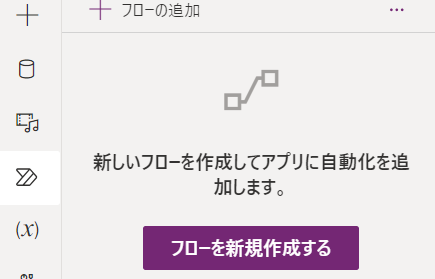
ここからPower Automateフローを作成します
トリガーはPower Appsからファイルの中身を受け取れるように「ファイルコンテンツ」を指定します
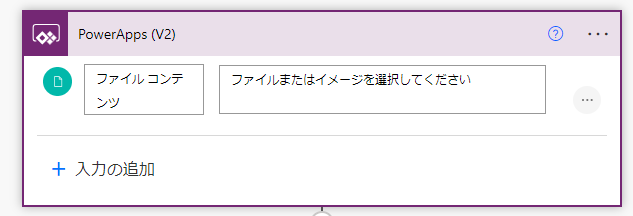
ここで重要な注意点があります
必ず3点リーダーから「フィールドを必須にします」を指定しておきます
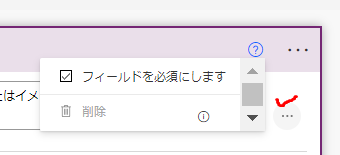
この設定が抜けるとうまく行きませんので確実に指定しましょう!
ファイル作成
次にファイル作成アクションを作成します
サイトのアドレスとフォルダーのパスには、ファイルの保管先を指定します
問題は次からです
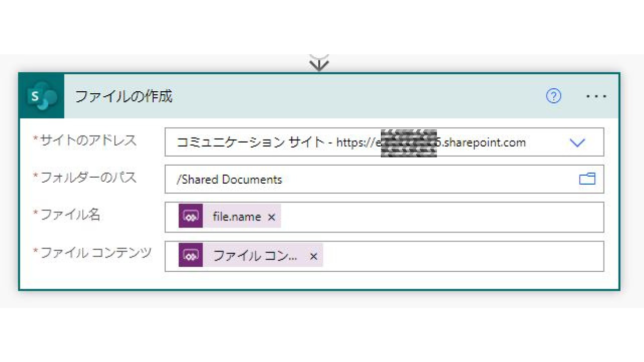
まずファイル名です

こちらはそのまま以下をコピーしてください
triggerBody()[‘file’][‘name’]
コピー先は下の画像の「式」の箇所ですので、間違いがないように注意をお願いします
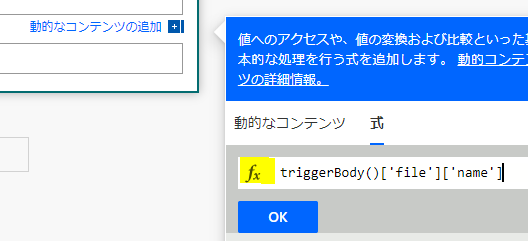
コピー後は下のOKボタンを押します
すると以下のようになります
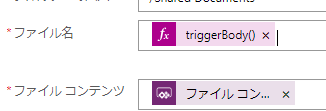
OKボタンを押した瞬間は上の画像のように、ファイル名が関数の表示になっています
こちらはフローを実行後は表示が変わるようになっています
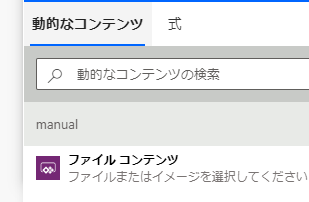
最後にファイルコンテンツを指定します
こちらはトリガーで受け取った内容を動的コンテンツから指定します
仕上げ~Power Apps~
それでは最後にPower Appsを仕上げます
Power Automateフローを動かすボタンを作成します
こちらのボタンでは、Power Automateフローに添付ファイルの内容を渡せるようにします
添付ファイルの内容は2つあります
こちらの2つの内容の渡し方が少し癖があります
下のように{}を使用します
UploadFile_Ver1.Run(
{
①contentBytes:First( AttachmentFile.Attachments).Value,
②name:First( AttachmentFile.Attachments).Name
}
)
上記の①②の中身ですが、下の画像の名前を使用します
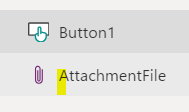
①contentBytes:First( AttachmentFile.Attachments).Value
②name:First( AttachmentFile.Attachments).Name
こちらの内容については、上記の内容をそのままコピーし、パーツ名だけを変更することをおすすめします
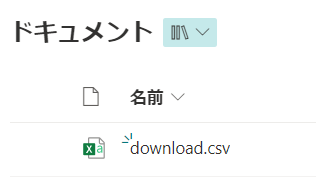
これで指定した箇所に、Power Appsを通じてファイルを保管できるようになります
<まとめ>
今回はPower Appsを通じてファイルを指定箇所にアップロードできるようにしました
そんなにアプリ作成には時間がかからないはずですが、何点か注意点があります
・Power Automate ⇒トリガーで必ず「必須」を指定する
・Power Automate ⇒ファイル作成アクションでファイル名を記事のコピーで作成する
・Power Apps ⇒Power Automateにファイル内容を渡す際、{}を使用して2つ引数を指定する
そのままアップロードしたエクセルファイルの内容をPower Apps内で使用する場合には、テーブルを事前に作成しておけば大丈夫です!
これでファイルの管理も楽になります
![]()
![]()


コメントを残す