【Power Platformの1つ、Power Appsを習得して、DXの主役になろう!】
Power Appsでもエクセルと同じように関数が使えます
今回は前回作成したアプリを基にして、アプリ内で「既に使われている関数」を解説した後、IF関数を使用したチェックボックスの仕組みを作成します
今回の記事の内容により、アプリの仕組みがより深く理解できると思います
目次
Refresh関数
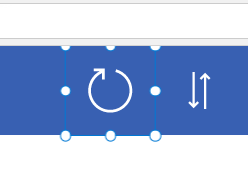
一覧画面の上にあるこのマークは、押すとデータソースのレコード/行を更新します
マークにカーソルを置いたままの状態で数式バーを見てみます

すると「Refresh関数」が使われているのが分かります
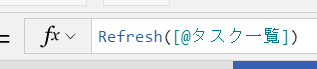
「タスク一覧」はアプリのデータソースのテーブル名です
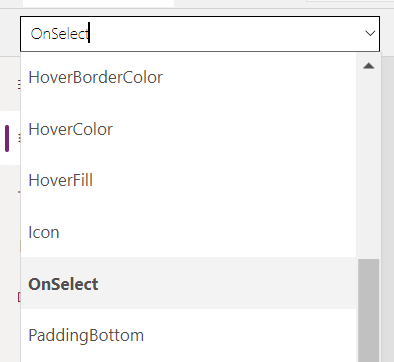
数式バーの左の下の画像の箇所にも注目してみてください

「OnSelect」という文字が設定されています
「On」と「Select」の組み合わせ、つまり、マークを選択した時に数式の内容が適用されるということです
OnSelectのほかにもいろいろな要素が設定されています
試しにOnSelectから「Color」に変更してみます

すると数式バーには255、255、255というように赤、緑、青の度合いが表示されています
この255の数字を0に変えてみます
すると色が変更されました
アプリを今後作成していく際には、こちらのプロパティ指定も組み合わせて行っていくことになります
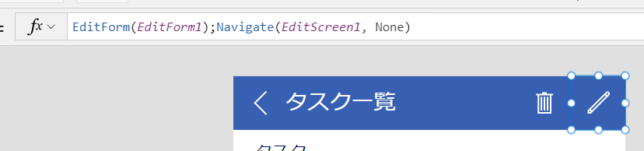
NewForm関数&Navigate関数
画面右上の+ボタンを押すと新規の入力フォームに遷移します

この+ボタンを押したときの動きには、①デフォルトの値が設定された詳細画面の設定と、②画面への遷移の2つの動きが含まれています
ですので設定されている関数も2つになります

ちなみに、2つの関数をつなげる場合には「;」を使用します
NewForm関数
NewForm関数内には「EditForm1」が引数として設定されています
このEditForm1は新規入力・編集用画面のボディ画面です
このNewForm関数の引数に「EditForm1」を設定することで、空の新規入力・編集用画面が設定されます
Navigate関数
こちらは2つの引数を設定する関数です
1つ目の引数では遷移先の画面を設定します
2つ目の引数では遷移の仕方を設定します
Microsoft社の画面では、様々な遷移の仕方が紹介されていますのでぜひご参照ください
https://docs.microsoft.com/ja-jp/powerapps/maker/canvas-apps/functions/function-navigate
今回は「NONE/指定なし」をFadeに変更してみます
以下のGIF画像が遷移方法をFadeに変更した際の遷移です
EditForm関数
修正用のフォームを設定する場合には、NewForm関数ではなくEditform関数を使用します
関数使用の実際
優先順位の欄をチェックボックスを使用して「✔オン⇒高」「✔オフ⇒低」と表示できるようにしましょう
オンとオンの切り替えにはIF関数を使用します
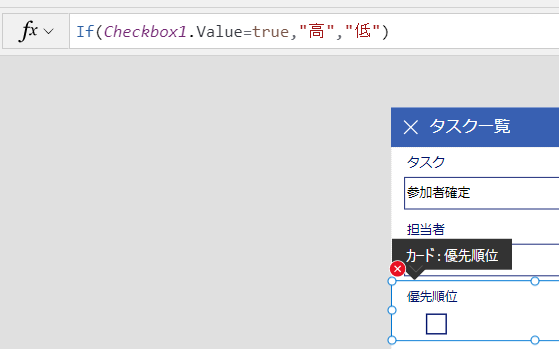
チェックボックスの値/Checkbox1.Valueがオン/trueの場合には「高」、そうでない場合は「低」とできるようにします
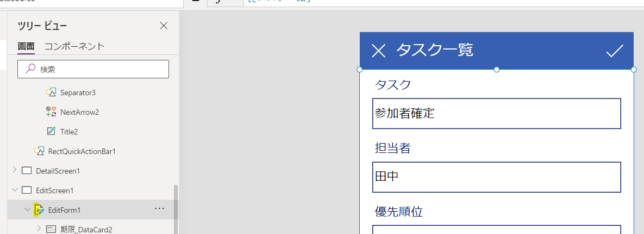
テキストボックスの削除
まずはテキストボックスを削除します
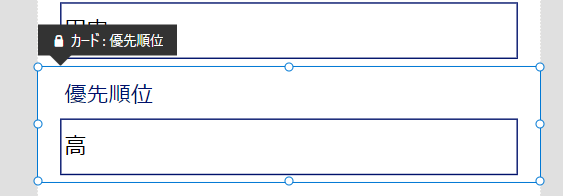
但し、上の画像にもあるように「ロック」がされています
ですので、テキストボックス上で右クリックをしてロックを解除します

ロックを解除したらDeleteキーで削除を行います
チェックボックスの挿入
まずチェックボックスを入れるスペースを作成します
次にチェックボックスを挿入します
画面上の挿入タブからチェックボックスを指定します
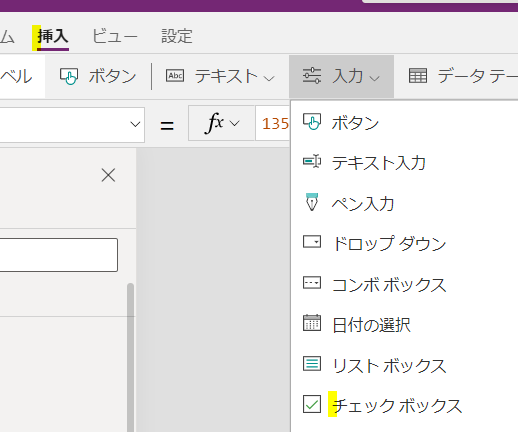
下の画像がチェックボックスを挿入した状態です
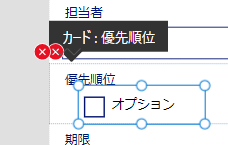
「オプション」の表示は不必要なので、こちらは数式タブで削除します
「オプション」の表示を削除する際、プロパティ欄がText/文字列になっているのにも注目してください

If関数の設定
チェックボックスを設定した状態だと2つのエラーが表示されています
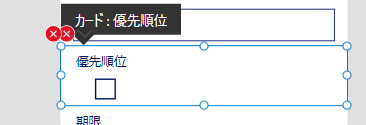
上の画像の状態(選択範囲にも注目してください)だと、プロパティ欄が「Update」、数式バーがDataCardValue6.Textになっていることにも注目してください

では2つ×印の右側をクリックします

すると上の黄色の印のように「数式バーで編集」が表示されるので、こちらをクリックします

上の画像では数式バー内がエラーの赤線が表示されています
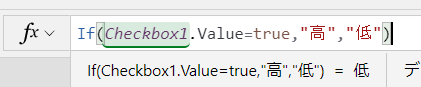
こちらにIF関数を入力します
IF関数は挿入したチェックボックスがオンになっている場合には「高」、オフの場合は「低」にて表示するものです
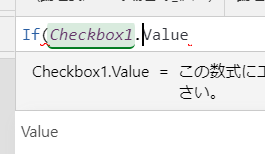
挿入したチェックボックスは、CheckBox1という名前で設定されています
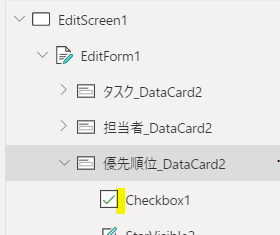
数式バー内で下のGIF画像のように、Check・・・まで入力すると自動的に「CheckBox1」と表示されるのでこちらを選択します
CheckBox1には「.Value」をつけてチェックボックスの値という意味合いに変えます
後は、エクセル関数のIF関数と同様に設定します
これでエラーが一つ消えました
ここからもう一つのエラーをクリックして数式を表示します

こちらは赤字の下線の箇所をCheckBox1に変更すれば解消されます

これでIF関数を使用したチェックボックスの仕組みが完成しました

<まとめ>
今回はPower Appsの関数について紹介しました
今回紹介したのはPower Appsの関数の一部ですが、エクセルのワークシート関数と同じような要領で活用できるのは理解していただけたと思います
今後のこのブログでも、関数については特集を組んでいきます
次回はクラウドフローと連携して、更新内容をTeamsにも投稿します
![]()
![]()


コメントを残す